Friday, December 14, 2012

Friends Around the Table


Nancie McDermott's Lemon-Filled Coconut Cake


I’ve made a lot of friends around the table in my life, but one very special group to me is made up of other Southern cookbook authors. They all live hours and hours away, yet we manage to stay in touch, support each other, offer advice, and share the love for each others' books and work. No matter the profession, having friends that deeply understand the path you’re on is priceless. These women are the ones that offer their homes to me when I’m on the road, attend events when they’re already over-booked, and shout praises of a new book from the rooftops. They take me to dinner with their family when I’m homesick for my own peeps. We also share notes on what works and what doesn’t on the journey from the kitchen counter to the printer. They've also taken me under their wings before really even knowing me.

I’m filling my table with their recipes this Christmas season. It’s the next best thing to having them stop by for a visit. Sandra Gutierrez, Nathalie Dupree, Cynthia Graubart, Jean Anderson, Virginia Willis, and Nancie McDermott are all experts on Southern cooking, but all in slightly different ways. They create the perfect collection of knowledge of the hows and whys of cooking in the South. Make room on your cookbook shelf and fire up the stove for the holidays. Collect all of these books (and Around the Southern Table too, of course), and you’re simply set for 2013 to be as sweet and savory as possible. 

Sandra Gutierrez’s Pickled Mushrooms

These meaty, juicy mushrooms offer a little bit of sweetness and a touch of vinegar in every bite. Pickled vegetables are a common feature in Latin and Southern repasts. The pickling technique,  used here, in which a vinaigrette is cooked along with the vegetables, pickling them as they cool, is known as escabeche. The beauty of this method is that it doesn't require a long period of time. Arab cooking techniques such as this one were introduced into Spain during the Ottoman Empire. Many of them made their way into Latin cuisine as a result of the European conquista. Modern Latin features myriad examples of this cultural amalgamation. Serve the mushrooms at room temperature with plenty of crusty bread to sop up the caldillo (juices).

½ cup white wine vinegar
¼ cup water
1 tablespoon sugar
⅔ cup extra virgin olive oil
1 cup thinly sliced yellow onion
1 large red bell pepper, cored, seeded and sliced thinly into strips ¼ -inch thick
8 sprigs fresh thyme (or 1 teaspoon dried)
1 bay leaf
6 whole black peppercorns
1 ½ pounds whole white button mushrooms
4 large garlic cloves, sliced paper-thin
Salt and freshly ground black pepper, to taste

In a medium bowl, combine the vinegar, water, and sugar; set aside. In a medium stainless steel or enamel coated saucepan with high sides, combine the oil, onions, bell pepper, thyme, bay leaf, and peppercorns; cook over medium heat, stirring gently for 4-5 minutes (being careful not to brown the onions).  Reduce the heat to medium-low and add the mushrooms; cook for 3-4 minutes stirring often. Add garlic and cook for 30-40 seconds. Add the vinegar mixture and increase the heat to medium. Simmer, uncovered, for 5 minutes. Remove from heat and bring to room temperature. Season with salt and pepper. Transfer the mushrooms to a nonreactive bowl; cover with plastic wrap and chill for at least 2 hours. Bring them back to room temperature when ready to serve. These keep, if properly chilled and covered, for up to 1 week. Serves 6-8.

From The New Southern-Latino Table: Recipes that Bring Together the Bold and Beloved Flavors of Latin America and the American South. Copyright © 2011 by Sandra A. Gutierrez. Used by permission of the University of North Carolina Press.www.uncpress.unc.edu


Nathalie Dupree’s and Cynthia Graubart’s Creamed English Peas and Potatoes

Serves 4 to 6

“Creamers” is the name for just-picked small potatoes. Combined with English peas and a cream sauce, they add a splendid touch to holiday or company meals, hence, “creamed ” creamers and English peas. Use a large pot to prevent the potatoes from boiling over.

12 small creamers or fingerling potatoes
8 tablespoons butter, divided
1 medium onion, sliced

2 cups shelled fresh English peas
2 tablespoons all-purpose flour
1/2 cup heavy cream

Salt
 & Freshly ground black pepper

Peel a band around the potatoes with a swivel peeler or knife. Cut up any large potatoes so that none are larger than 1 1 ⁄ 2 inches in diameter. Rinse and add to a pot of boiling water to cover. Return to the boil, reduce to a simmer, and cook until the potatoes are tender when pierced with a fork, 20 to 30 minutes, depending on size.
Meanwhile, heat 3 tablespoons of butter in a frying pan. Add the onion and sauté until tender, about 5 minutes.
Melt the remaining 5 tablespoons butter in a small saucepan. Stir in the flour to make a roux. Add heavy cream to the roux, stirring continuously to make a white sauce. Bring to the boil. Pour the sauce into the undrained potatoes and peas. Season to taste with salt and pepper. 

Reprinted with permission from Mastering the Art of Southern Cooking by Nathalie Dupree and Cynthia Graubart, copyright © 2012. Published by Gibbs Smith.


Jean Anderson’s Marmalade Tea Cake

Makes a 9 x 5 x 3-Inch Loaf

I found this recipe in Coastal Cookery, a slim spiral-bound volume first published in 1937 by the Cassina Garden Club of St. Simon’s Island, Georgia.  It has now gone through at least eight editions, the last printed in 1972 and the one I have.  This is my updated version of that long-ago recipe.  Unlike many Southern cakes, this was is not very sweet – perfect, I think, for an afternoon tea or open house.  In fact, it’s more tea bread than tea cake.


2 3/4 cups sifted all-purpose flour
2 1/2 teaspoons baking powder  
1/2 teaspoon baking soda
1/2 teaspoon salt  
1 cup orange marmalade  
2 tablespoons unsalted butter, slightly softened 
1 large egg  
3/4 cup fresh orange juice  
3/4 cup finely chopped pecans, black walnuts, or English walnuts          

Glaze:
1/4 cup fresh lemon juice 1/4 cup sugar
Preheat oven to 325° F.  Line 9 x 5 x 3-inch pan with baking parchment or aluminum
foil, then spritz with non-stick oil-and-flour baking spray.  Set pan aside. 
Whisk flour with baking powder, soda, and salt in medium-size mixing bowl and set aside. 
Beat marmalade and butter at high electric mixer speed about 1 minute to combine.  Scrape sides of bowl, add egg, and beat 2 minutes until light. 
At low mixer speed, add combined dry ingredients alternately with orange juice, beginning and ending with dry and mixing after each addition only enough to combine.   By hand, fold in nuts.  Scoop batter into pan, spreading to corners. 
Slide onto middle oven shelf and bake 1 to 1 1/2 hours until nicely browned, loaf begins to pull from sides of pan, and cake tester inserted in middle comes out clean.
Transfer loaf to wire rack, placing right side up.
 Glaze: Combine lemon juice and sugar in small non-reactive saucepan, set over moderate heat, and cook, stirring constantly, about 1 minute until sugar dissolves.  Pierce cake 10 to 12 times with toothpick, spoon hot glaze slowly over cake, letting it soak in and dribble down sides.   Let stand 15 minutes in upright pan on wire rack.
Grasping edges of parchment, gently lift cake from pan to wire rack and cool to room temperature before removing parchment.
To serve, cut tea cake into slices about 3/8 inch using your sharpest serrated knife and a gentle see-saw motion..   Note: Some Southern hostesses halve or quarter each slice – easier to eat while balancing a cup of tea or coffee.

Reprinted with permission from From a Southern Oven: The Savories, The Sweets by Jean Anderson, copyright © 2012. Published by John Wiley & Sons. 

 
Virginia Willis’ Garlic-Stuffed Prime Rib Roast with Crispy Potatoes

Serves 8

1 (8- to 9-pound) prime rib or standing rib roast (4 ribs)
4 to 5 cloves garlic, very thinly sliced and seasoned with salt and pepper
1 tablespoon canola oil
12 ounces fingerling potatoes, halved lengthwise
Coarse salt and freshly ground black pepper
 
Remove the roast from the refrigerator. Using a paring knife, make 1/2 inch deep slits every 2 inches on all of the meaty sides of the roast. Insert a sliver of garlic into each slit. Set aside and let the roast stand at room temperature for 1 hour.
Preheat the oven to 450°F.
Season the meat all over with salt and pepper. Heat a large roasting pan over medium-high heat. Add the canola oil and heat until shimmering. Add the prepared prime rib, fat side down. Cook until dark brown and crusted on all sides, about 5 minutes per side. Finish with the roast meat side up and rib side down.
Roast for 15 minutes, then decrease the heat to 350°F and roast the meat for 18 to 20 minutes per pound, adding the potatoes and tossing them to coat in the pan drippings about 1 hour before the roast is expected to be done. The roast is done when an instant-read thermometer inserted into a fleshy section registers 115°F to 120°F for blue, 120°F to 130°F for rare, or 130°F to 140°F for medium-rare.
Remove the roast to a meat carving board and cover it loosely with foil. Let it rest for at least 15 and up to 30 minutes. (The temperature will increase another 5°F to 10°F.) Return the potatoes to the pan to continue cooking while the roast rests.
To carve, lay the roast on its side. Using a chef’s knife, remove the meat in one piece from the bone. Set aside the bones. Remove the potatoes from the oven. Taste and adjust for seasoning with salt and pepper. Transfer to a warmed serving platter. Slice the meat against the grain into 1/4-inch-thick slices. Serve immediately.

Reprinted with permission from Basic to Brilliant, Y’all: 150 Refined Southern Recipes and Ways to Dress Them Up for Company by Virginia Willis, copyright © 2011. Published by Ten Speed Press, a division of Random House, Inc. 
 

Nancie McDermott’s Lemon-Filled Coconut Cake

Coconut cake is always very sweet, and luscious lemon curd provides a sunburst of tangy flavor that I adore. You can buy it at specialty food shops, but lemon curd is also simple to make. Once you know how, you can share small jars as gifts for your most precious friends, or enjoy it on breakfast biscuits or tea time scones. If you make the lemon curd yourself, but skip the frosting, you can cover the cake layers with whipped cream and shower the cake with coconut flakes.

Cake
2 1/2 cups self-rising flour
1 1/2 cups sugar
1/2 cup (1 stick) butter, softened, or 1/2 cup shortening
3 eggs
1 teaspoon vanilla extract
1 cup milk

Fluffy White Frosting
1 cup sugar
1/4 cup light corn syrup
1/4 cup water
2 egg whites
1/4 teaspoon cream of tartar
1/4 teaspoon salt
1 teaspoon vanilla extract
About 3 cups freshly grated coconut, or shredded sweetened coconut
1 recipe Lemon Curd, or 1 cup (10 ounces) store bought lemon curd

To make the cake:
Heat the oven to 350 F, and grease and flour two 9-inch round cake pans. Combine the flour and sugar in a large bowl, and mix with a fork to combine them well. Stir the vanilla into the milk.
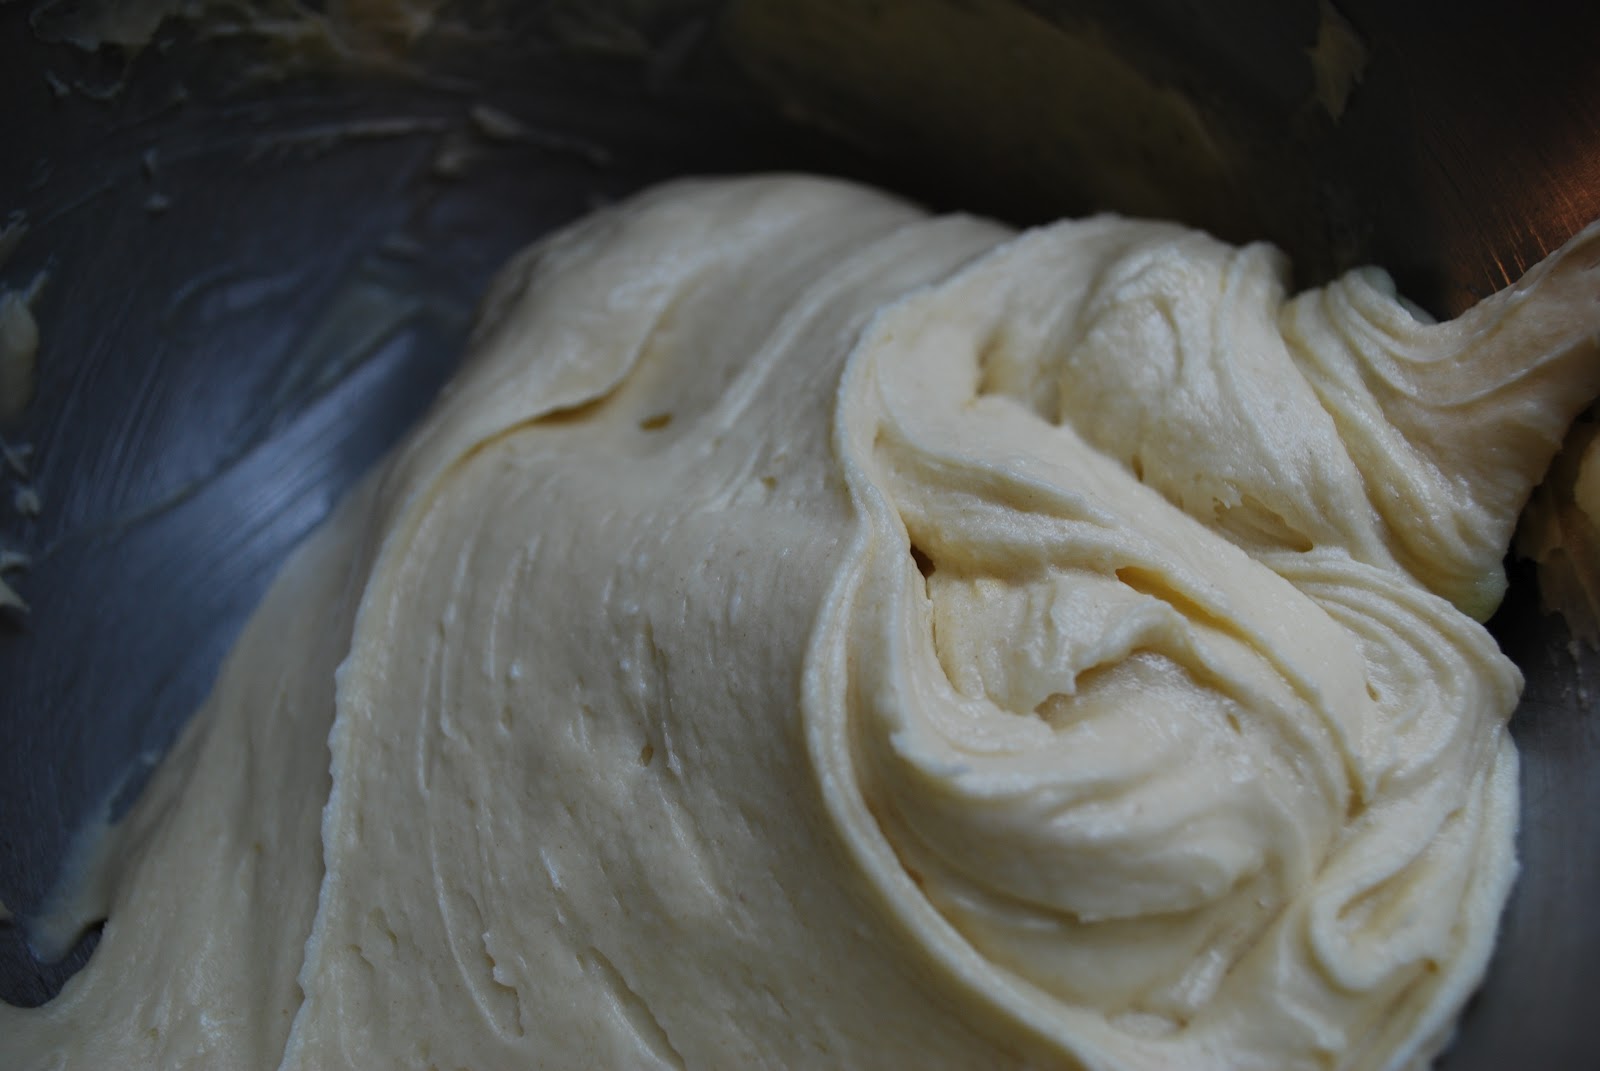
Add the shortening, eggs, and 1/4 cup of the milk to the flour mixture. Blend well with a mixer at medium speed, stopping now and then to scrape down the bowl, until you have a thick, fairly smooth batter, about 2 minutes. Add the remaining 3/4 cup milk, and beat only until the batter is smooth and well combined.
Scrape the batter into the prepared pans and bake at 350 F for 25 to 30 minutes, until the cakes are golden brown, spring back when touched lightly at the center, and begin to pull away from the sides of the pans.
Cool the cakes in the pans on wire racks or folded kitchen towels for 10 minutes. Carefully turn them out onto the wire racks or onto plates, turn the cakes so they are top side up, and cool completely, topside up down.
To make the frosting:
Bring about 3 inches of water to a boil in a medium saucepan or in the bottom of a double boiler. Meanwhile, combine the sugar, corn syrup, water, egg whites, cream of tartar, and salt in a large, heatproof bowl which will fit snugly over the saucepan, or in the top of the double boiler. Beat for 1 minute with a mixer at low speed, until the egg white mixture is pale yellow, foamy and well combined.
Place the mixing bowl or the double boiler top over the pan of boiling water, and adjust the heat to maintain a gentle boil. Using a hand-held electric mixer, beat the sugar-egg white mixture at high speed for 7 to 14 minutes, or until it triples in volume, swelling into a voluptuous cloud of frosting that holds firm curly peaks when the beaters are lifted. Remove from the heat, add the vanilla, and beat for 2 minutes more, scraping down the bowl once or twice.
To assemble the cake, place one layer, top side down, on a cake stand or serving plate. Cover it generously with the lemon curd, spreading it almost to the edge of the cake. Place the other layer, top side up, on top of the lemon curd. Cover the cake generously with the frosting, and then place it on a cookie sheet or tray to catch any coconut that doesnít stick to the cake. Sprinkle coconut generously all over the iced layers, and then carefully pat coconut on any bare spots.

Lemon Curd
3 eggs

3/4 cup sugar

1/3 cup freshly squeezed lemon juice

1 tablespoon finely grated lemon zest

6 tablespoons cold butter
Bring about 3 inches of water to a lively simmer in the bottom of a double boiler, or saucepan that will accommodate a medium heat-proof mixing bowl so that it sits snugly above the water.
Meanwhile, combine the eggs, sugar, lemon juice, and lemon zest in the top of the double boiler or the heat-proof bowl. Whisk or stir with a fork to mix them together very well. Cut the butter into small chunks.
Cook the egg-and-lemon mixture over the simmering water, whisking and stirring often and well, for 8 to 10 minutes, until it thickens to a luxurious, bright yellow sauce, like lightly whipped cream. Remove from the heat and stir in the butter, a few chunks at a time, whisking to melt the chunks into the lemon curd before adding the next little batch.
Cool to room temperature, and then transfer the lemon curd to a glass jar. Store it covered, in the refrigerator up to 1 week

Makes about 1 1/2 cups

From "Southern Cakes: Sweet and Irresistible Recipes for Everyday Celebrations". Copyright: Nancie McDermott, 2007. All Rights Reserved.
Copyright © 2012 Rebecca Lang Cooks, LLC. All rights reserved.

Sunday, November 18, 2012

Bacon Covered Roasted Turkey


There’s nothing more frightening than cutting into the Thanksgiving turkey and finding dry, unappealing meat. The air of silence falls over the table as everyone saws through slices of the main course as if it were pressure treated lumber. It’s awkward for anyone eating and nothing short of heartbreaking for the cook.
There is an essential combination that fights off dryness and turns an average turkey into the star of a meal that will be remembered for countless holidays. Brining, boosting flavor with an herbed butter, and taking advantage of the miraculous properties of bacon are the keys to true Thanksgiving turkey glory.

Bacon-Covered Roasted Turkey
Choose a fresh turkey—and read the label to make sure it hasn’t been injected with a saline or flavor solution—to ensure a juicy and perfectly seasoned holiday centerpiece.

2 cups medium-flake kosher salt (such as Diamond Crystal)
2 cups firmly packed light brown sugar
3 Tbsp. black peppercorns
1 Tbsp. mustard seeds
1 (12-lb.) whole fresh turkey
1 cup unsalted butter, softened
2 Tbsp. chopped fresh parsley
1 Tbsp. chopped fresh sage
12 tsp. table salt
12 tsp. freshly ground pepper
Kitchen string
6 bacon slices (not thick cut)
Garnishes: roasted carrots, fresh bay leaves

1. Combine first 4 ingredients and 2 qt. water in a saucepan, and cook over
medium heat 5 minutes or until salt and sugar are dissolved. Remove from heat.
Divide liquid between 2 large (10- to 12-cup) bowls; add 4 cups ice cubes to
each bowl and enough cold water to make 10 cups of brine in each bowl. Stir
until ice melts and both mixtures are completely cool (about 5 minutes).

2. Remove giblets and neck from turkey, and reserve for another use, if
desired. Place turkey in an 18-qt. food-grade plastic container or stockpot.
Pour brine into cavity and over turkey, covering turkey completely. Place in
refrigerator. Cover and chill 24 hours, turning turkey once halfway through.

3. Combine butter and next 4 ingredients in a small bowl.

4. Preheat oven to 350°. Remove turkey from brine, discarding brine. Rinse
turkey well, including cavity.

5. Starting at neck, carefully loosen and lift skin from breast and drumsticks
using your fingers. (Do not totally detach skin.) Rub 34 cup butter mixture
under skin; carefully replace skin. Tie ends of legs together with string; tuck
wing tips under. Place turkey, breast side up, on a lightly greased rack in a
roasting pan; rub remaining butter mixture over skin.

6. Roast turkey at 350° for 1 hour and 45 minutes, basting with pan juices
every 20 minutes during last 45 minutes of cooking. Remove from oven, and
lay bacon slices, crosswise, over breast and drumsticks.

7. Return turkey to oven; roast 45 minutes to 1 hour or until a meat thermometer
inserted in thickest portion of thigh registers 170°, basting every 15 minutes.
Let stand 30 minutes before carving. Garnish, if desired.

Makes: 8 servings

Hands-on Time: 50 min. Total Time: 4 hr., plus 1 day for brining

(c) Copyright 2012 Rebecca Lang Cooks, LLC
Recipe from Southern Living Around the Southern Table by Rebecca Lang, Oxmoor House, 2012 
Photo by Jennifer Davick

Monday, October 8, 2012

My Southern Table


I am overwhelmed by the warm welcome that my new book has gotten onto bookstore shelves, coffee tables and kitchen counters all over the South. This journey is off to an unforgettable start. 
The exact essay below didn't make it into the final edits of Around the Southern Table. Yet, it is important to me to share some personal moments of my relationship with the table. I'm sure most Southerners could do the same.


My Southern Table

Being welcomed at the table is nothing short of receiving a special gift. It’s a package filled with soothing assurance that you are not alone. It is not simply a piece of furniture made to support a plate and a glass; it is furniture that serves its owners in countless and amazing ways.
    Like so many others, my home is not determined by an address; my home is where those I love gather around the table. The location and the table aren’t always the same, but those that surround it are always family. In times of great celebration, quite reflection or deep loss, the table is forever in the center.
    Much of my life has been marked by unforgettable moments around the table. It was at the table where I tasted my very first tomato sandwich. I ate breakfast at the table while watching the Challenger liftoff and disintegrate into the sky. Years later I slipped my left hand across the shiny oak top to show my grandmother my engagement ring. In that exact same place at the table, my place, I was overcome by the sea of endless food delivered when she passed away. We gathered our parents around the table on a frigid January evening to share the news that their first grandbaby was on the way.
    While sitting down to a bushel of roasted oysters, I was ecstatic to tell my family I was writing my long-awaited third book. I swaddled our brand new baby girl in a bright pink basket on our table the first day we came home from the hospital. We added leaves and pulled up chairs for the biggest brunch I could cook after each of our children was baptized.  Hours after the death of my father-in-law, I sat alone at our table in the middle of the night and cried until no more tears would come. While sitting on his tiny knees at the table, my son said the blessing all by himself for the first time.
    It is at the table where I have grown-up, loved, laughed, prayed, celebrated and experienced so many of the defining moments in my life. This long relationship does not make me unique. Most Southerners could tell a very similar story about the table where they sit to dine each day. The Southern table does not just fill a room or a corner; it fills our very lives and enriches our souls.


Copyright © 2012 Rebecca Lang Cooks, LLC. All rights reserved.
www.rebeccalangcooks.com

Wednesday, September 5, 2012

For the Love of Batter

On a recent mention of my love of batter, I was asked, with a hefty dose of judgement, “You really eat that stuff?” With my head held high, I answered, “Yes. Yes I do.”  A latecomer to the conversation would have thought I just confessed to a heinous unsolved crime. I understand that there is a fear, although not in my house, of the danger of raw eggs. There’s also a chance I’ll be run over while I’m getting my mail. There was a farmer, a cow, and a chicken that all sacrificed for me to have the finest ingredients for my cake. Don’t you think I practically owe it to them to have a respectful few spoonfuls?

I don’t do drugs, there is no flask of liquor in my purse, I don’t steal or cheat, and I only cuss when absolutely necessary. As far as I’m concerned, if batter eating is my worst vice, I’m doing better than most. Like many others, I started as a child with the typical lick or two of the beaters or a tiny taste off the spoon. But once the mixer belonged to me, the beater treat alone just would not do.
Cake batter is my creamy delight of choice (although I rarely decline a little raw biscuit dough). Pound cakes are always my first preference, but most batters will do. (Except red velvet. I just can’t eat blood red batter.) A few spoonfuls of buttery goodness makes a good day great and a bad day better. Normally, I don’t make cakes because I’m looking forward to a slice later in the day. It’s for a more immediate fix. It’s for the love of batter. Sure, my cakes end up being a tiny bit smaller, but it’s worth every millimeter of height.
Even with the overwhelming emotion I feel for batter, I would never be so reckless and irresponsible to recommend that you consume it. It’s way too dangerous. The liability would be immense. If you should ever find yourself holding a spoon mounded with batter, remember to eat only at your own risk. 

Pound Cake and a Half

This recipe is known as “Peach Mama Pound Cake and a Baby Cake” by my sweet 2 year old little girl. It’s perfect for our family. A fruity large pound cake and a small plain one. Just about any fruit will work in the larger cake. Blueberries and plums are really good.


3 sticks unsalted butter
8 oz. cream cheese
3 cups sugar
6 eggs
3 cups all-purpose flour (such as Gold Medal)
1/4 teaspoon salt
1 tsp. almond extract
2 cups chopped peaches (chopped into 1/2-inch pieces)
1. Preheat oven to 325°. Place butter and cream cheese in the bowl of a heavy-duty electric stand mixer, and beat at medium speed until light and blended (about 2 minutes).
Gradually add sugar, beating until blended. Add eggs, 1 at a time, beating just until yellow disappears after each addition.
2. Slowly add flour, stopping to scrape bowl as needed. Stir in almond extract.
Pour about 4 cups batter into a greased and floured 6-inch (4 1/2 cup) mini-bundt pan. Stir chopped peaches into remaining batter. Pour batter into a greased and floured 10-inch (11 cup) bundt pan.
3. Bake both cakes at 325°. Bake the baby cake for 45 minutes. Bake the larger cake for 1 hour 30 minutes or until a long wooden pick inserted in center comes out clean.
Makes: 2 cakes 

Monday, July 16, 2012

From Canada to my Georgia Kitchen


Field of Blooming Canola
Canola oil has been a staple in my kitchen for as long as I remember. I reach for it more often than I think about. For frying, sautéing, marinating, you name it and I’ve put Canola oil in it. Getting an opportunity to travel to the home of Canola was an invitation that didn’t require a second thought to accept. Until this trip to Saskatchewan, I knew very little about the origins of Canola. (I just knew it was good.) It’s a bit like not noticing the forest for the trees.
Canola Flower
I was privileged to be included in a select group of food professionals that were graciously invited to attend "Canola Camp" in Saskatoon, Saskatchewan (Hosted by CanolaInfo and the Canola Council of Canada). During my flight into Saskatoon, the land below looked like a glorious patchwork quilt of yellow and green. I was raised in a community surrounded by fertile farmland but had never seen lush and bright crops flourishing in every direction. The incredible blanket of color was contained only by the horizon.
Canola Seed
To really understand an ingredient, you have to see where it comes from, how it grows, and talk with those those that make a living by growing it. It's accurate that Canola oil has no trans fats or cholesterol and the most omega-3's of any oil. It's a fact that the oil is rich in Vitamins E and K. It's also true that Canola is the lifeblood of western Canada and the people there are just as vital to the growth of the plants as the sunshine itself. 
Like most crops, the journey that Canola takes from planting to pressing to enhancing recipes is lined with those that have invested so much of their lives and energy into the process that creates an oil that can be found in kitchens all over the globe. To have a glance into that world is nothing short of amazing.
My time up close and personal with Canola gave me craving for my cast-iron skillet. It's like catching fish all afternoon with no flame to cook them for supper. I will never again pour another tablespoon of Canola oil without picturing those glorious fields, the farmers, and the Canadian hospitality I was lucky enough to experience firsthand.

Fried Green Tomatoes

Serves 8

Canola oil
1 cup cornmeal
4 large green tomatoes (about 2 pounds)
1 cup all-purpose flour
1 teaspoon salt
1/2 teaspoon freshly ground black pepper
2 large eggs
1/4 cup buttermilk

In a large skillet, pour the Canola oil to a depth of 1/4 inch. Heat the skillet over medium heat until a pinch of cornmeal sizzles when sprinkled in.
While the oil heats, peel and slice the tomatoes into 1/2-inch-thick slices.
Combine the cornmeal, flour, salt, and pepper in a large mixing bowl. Combine the eggs and buttermilk in a small mixing bowl.
Coat each tomato slice with the cornmeal mixture; dip thoroughly in the egg mixture, and return to coat a second time in the cornmeal mixture.
Carefully place about half of the coated tomato slices in the hot oil and fry for 3 to 4 minutes per side, or until golden brown. Repeat with the remaining tomato slices.


Copyright © 2012 Rebecca Lang Cooks, LLC. All rights reserved.
Recipe adapted from Quick-Fix Southern (Andrews McMeel, 2011) by Rebecca Lang
www.rebeccalangcooks.com